canon manual 7d
Canon EOS 7D: A Comprehensive Guide
Dive into the world of Canon photography! This guide unlocks your 7D’s potential, offering detailed instructions and support resources for optimal performance and enjoyment.
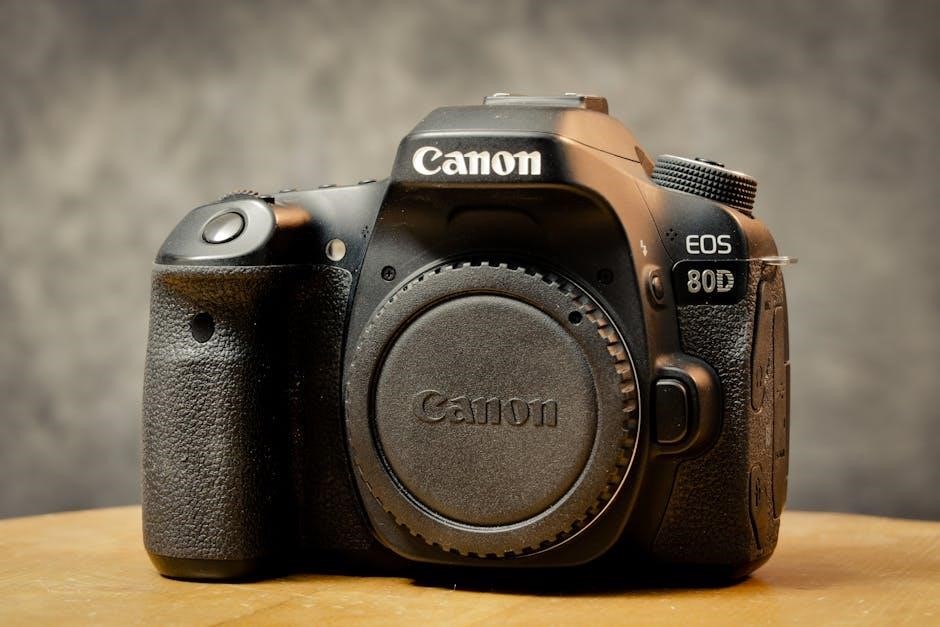
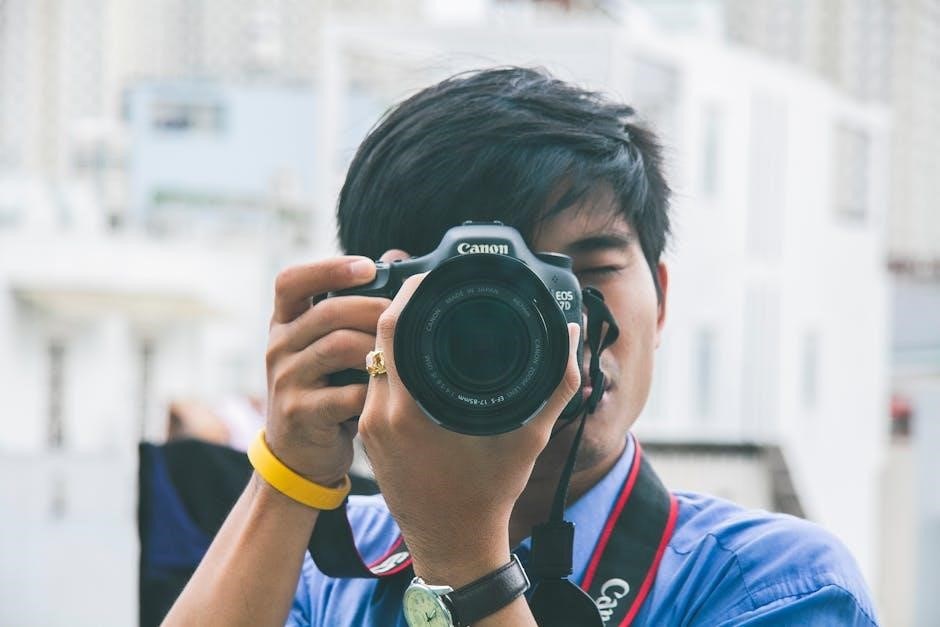
Welcome to the Canon 7D experience! This powerful DSLR, celebrated for its robust build and exceptional image quality, represents a significant step into advanced photography. The Canon 7D Manual serves as your essential companion, guiding you through every feature and function. Whether you’re a seasoned professional or an enthusiastic beginner, this camera offers a versatile platform for capturing stunning photos and videos.
This guide is designed to help you understand and successfully manage your Canon 7D. It provides a detailed roadmap for mastering its capabilities, ensuring optimal performance and enjoyment. From initial setup to advanced techniques, we’ll cover everything you need to know. Explore the resources available, including driver downloads, software updates, and comprehensive online support, to unlock the full potential of your Canon 7D.
Key Features and Specifications
The Canon 7D boasts a compelling array of features. At its heart lies an 18.0-megapixel CMOS sensor, delivering exceptional detail and clarity. It captures high-resolution images, perfect for large prints and detailed cropping. The camera’s Dual DIGIC 4 Image Processor ensures rapid processing speeds and superior image quality, even in challenging lighting conditions.
Key specifications include a continuous shooting rate of up to 8 frames per second, ideal for capturing fast-action sequences. Its 19-point all cross-type AF system provides precise and reliable autofocus performance. The 7D also features Full HD 1080p video recording, offering professional-quality video capabilities. Explore the detailed technical specifications within the Canon 7D Manual to fully understand its capabilities and optimize your shooting experience.

Understanding the Camera Body

Familiarize yourself with the 7D’s design! This section details the physical layout, controls, and essential components for comfortable handling and efficient operation.
Physical Controls and Buttons
Mastering the 7D’s interface begins with understanding its physical controls. The rear panel houses essential buttons for navigating menus, adjusting settings, and reviewing images. The multi-controller allows precise AF point selection and menu navigation, while the SET button confirms selections.
The Quick Control button provides direct access to frequently used settings like ISO, white balance, and picture style. The Mode Dial, located on top, selects shooting modes – Auto, Program, Aperture Priority, Shutter Priority, and Manual. Around the shutter button, you’ll find the main dial for adjusting settings in various modes.
Furthermore, dedicated buttons control features like image quality, drive mode, and white balance. The 7D’s thoughtfully designed layout ensures intuitive operation, allowing you to quickly adjust settings without taking your eye off the subject. Refer to the detailed diagrams in your Canon manual for precise button locations and functions.
Viewfinder and LCD Screen
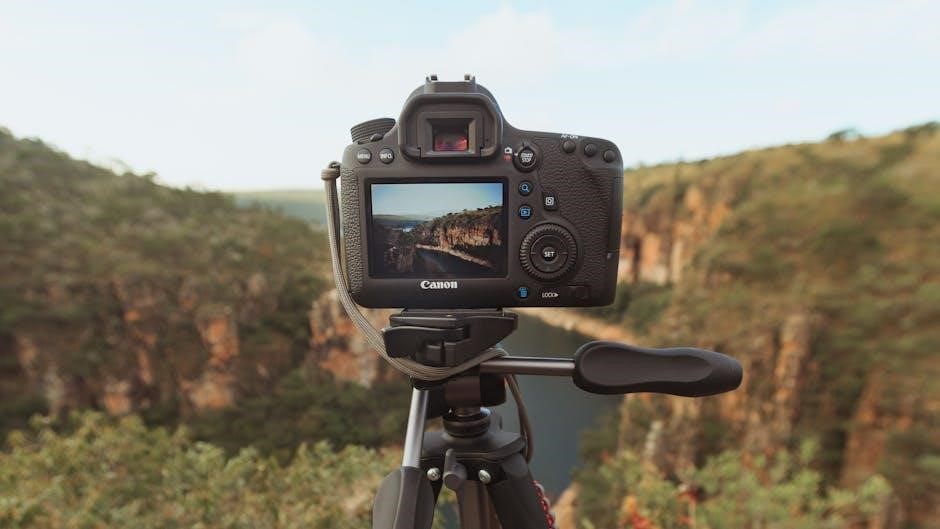
The Canon 7D offers both an optical viewfinder and a high-resolution LCD screen for composing and reviewing images. The optical viewfinder provides a clear, bright view of the scene, with approximately 100% coverage – what you see is what you get! It displays crucial shooting information like focus points, exposure settings, and shooting mode.
The 3.0-inch LCD screen delivers vibrant color reproduction and sharp detail, ideal for reviewing photos and navigating menus. Its wide viewing angle ensures comfortable viewing even in bright sunlight. The Live View function allows composing images directly on the LCD, offering precise control and facilitating creative shooting angles.
Utilize the diopter adjustment on the viewfinder to compensate for individual eyesight, ensuring a sharp image. The LCD’s brightness can also be adjusted for optimal visibility. Consult your Canon 7D manual for detailed instructions on customizing these features.
Memory Card and Battery Compartments
The Canon 7D utilizes CompactFlash (CF) cards for image storage, offering substantial capacity and fast data transfer speeds. The memory card compartment is located securely on the side of the camera body, protected by a latch. Always ensure the card is properly inserted and the latch is firmly closed to prevent data loss or damage.
The battery compartment, typically found at the bottom of the camera, houses the Canon LP-E6 lithium-ion battery. Proper battery handling is crucial for longevity and performance. Refer to your Canon 7D manual for safe charging and usage guidelines.
Before inserting or removing batteries or memory cards, always power off the camera. Inspect the compartments regularly for any debris or damage. Using genuine Canon batteries and CF cards is recommended for optimal compatibility and reliability.

Mastering Camera Settings
Unlock full control of your Canon 7D! Explore shooting modes, ISO, white balance, and focusing options detailed in the manual for stunning results.
Shooting Modes (Auto, Program, Aperture Priority, Shutter Priority, Manual)
The Canon 7D offers a versatile range of shooting modes to suit every photographer’s skill level and creative vision. Auto mode simplifies operation, letting the camera handle all settings for effortless snapshots. Program mode (P) provides a balance, allowing some user control while the camera manages aperture and shutter speed.
For greater artistic control, Aperture Priority (Av) lets you select the aperture, influencing depth of field, while the camera determines the shutter speed. Shutter Priority (Tv) allows you to set the shutter speed, freezing motion or creating motion blur, with the camera adjusting the aperture accordingly.
Finally, Manual (M) mode grants complete control over both aperture and shutter speed, empowering experienced photographers to fine-tune every aspect of the image. The Canon 7D manual thoroughly explains each mode, offering guidance on when and how to utilize them effectively to achieve desired photographic outcomes.
ISO Sensitivity and Noise Reduction
Understanding ISO is crucial for achieving optimal image quality in varying lighting conditions with your Canon 7D. ISO sensitivity determines the camera’s sensor’s responsiveness to light; lower ISOs (like 100) produce cleaner images in bright light, while higher ISOs (up to 6400 on the 7D) enable shooting in darker environments.
However, increasing ISO introduces digital noise – graininess that degrades image detail. The Canon 7D’s manual details its ISO range and provides guidance on balancing sensitivity with noise levels.
The camera also features built-in noise reduction technologies. High ISO Speed Noise Reduction can be adjusted in the menu to minimize noise, but be aware that stronger noise reduction can soften image details. The manual explains how to customize these settings to find the best compromise between noise reduction and image sharpness for your specific shooting needs.
White Balance Settings
Achieving accurate colors is paramount, and the Canon 7D offers comprehensive white balance control. White balance adjusts colors so that objects which appear white in person are rendered as white in your photos, correcting for different lighting conditions.
The 7D provides several preset white balance modes – Auto, Daylight, Cloudy, Shade, Tungsten, Fluorescent, and Flash – each optimized for specific light sources. The camera manual details when to use each preset for best results.
For precise color rendition, utilize the Custom White Balance feature. This allows you to manually set white balance by pointing the camera at a white or gray card under the current lighting. The manual guides you through this process. Additionally, the 7D allows for White Balance Correction and White Balance Shift, offering fine-tuning options to perfect color temperature and tint. Experimenting with these settings, as described in the manual, unlocks creative color possibilities.
Focusing Modes and AF Point Selection
The Canon 7D’s autofocus system is crucial for capturing sharp images. Understanding the various focusing modes and AF point selection options is key to mastering this capability. The camera offers several AF modes, including One-Shot for static subjects, AI Servo for tracking moving subjects, and AI Focus for automatically switching between the two.
The 7D features 19 AF points, providing extensive coverage across the frame. The manual details how to select individual AF points, AF point groups, or utilize automatic AF point selection.
Customizing AF behavior is also possible. Settings like AI Servo tracking sensitivity and AF point expansion can be adjusted to suit specific shooting scenarios. The Canon manual provides detailed explanations and illustrations for each setting. Mastering these options, as outlined in the guide, ensures consistently sharp focus, even in challenging conditions.
Advanced Photography Techniques
Elevate your skills! Explore exposure, depth of field, histograms, and RAW versus JPEG formats – unlocking the Canon 7D’s full creative potential.
Understanding Exposure Triangle (Aperture, Shutter Speed, ISO)
Mastering the Exposure Triangle is fundamental to photographic control. Aperture, defined by the f-stop, controls the lens opening, influencing depth of field – a shallow depth isolates subjects, while a larger f-number keeps everything sharp. Shutter speed dictates how long the sensor is exposed to light; faster speeds freeze motion, slower speeds create motion blur.
ISO measures the sensor’s sensitivity to light. Lower ISOs (like 100) produce cleaner images, ideal for bright conditions. Higher ISOs (like 3200) are useful in low light, but introduce noise or grain. The Canon 7D allows precise adjustments to each element.
These three settings are interconnected. Changing one requires adjusting others to maintain proper exposure. Understanding this relationship empowers you to creatively control brightness, sharpness, and motion within your photographs, maximizing the Canon 7D’s capabilities.
Using Depth of Field Creatively
Depth of field (DoF) is a powerful compositional tool. Controlled by aperture, DoF determines how much of your image is in focus. A narrow DoF (achieved with wide apertures like f/2.8) isolates your subject against a blurred background – perfect for portraits, emphasizing detail and creating a dreamy aesthetic.
Conversely, a large DoF (using smaller apertures like f/16) keeps everything from foreground to background sharp, ideal for landscapes where you want maximum clarity. The Canon 7D’s versatile aperture range allows for extensive creative control.
Experiment with different apertures to see how they affect your images. Consider your subject and desired mood. A shallow DoF draws attention, while a large DoF provides context. Mastering DoF elevates your photography beyond simple snapshots.
Working with Histograms
Histograms are essential for accurate exposure assessment. They visually represent the tonal distribution in your image – from dark shadows to bright highlights. Understanding histograms prevents under or overexposed photos, ensuring optimal image quality with your Canon 7D.
A histogram skewed to the left indicates underexposure (too dark), while a skew to the right suggests overexposure (too bright). An ideal histogram generally shows a balanced distribution, though this varies depending on the scene.
The 7D’s live view mode displays a real-time histogram. Use it to adjust your aperture, shutter speed, and ISO until the histogram reflects your desired exposure. Don’t rely solely on the LCD screen; the histogram provides objective data for precise control.
Shooting in RAW vs. JPEG
Choosing between RAW and JPEG impacts image editing flexibility. JPEG files are compressed, losing some image data for smaller file sizes – convenient for immediate use and sharing. However, RAW files contain all data captured by the sensor, offering significantly greater editing latitude.
With RAW, you can recover details from shadows and highlights, adjust white balance non-destructively, and fine-tune colors with precision using software like Canon’s Digital Photo Professional (DPP). JPEG’s compression limits these adjustments, potentially leading to artifacts.
While RAW files require post-processing, the Canon 7D’s capabilities shine when paired with RAW’s extensive editing potential. For critical work or when maximum quality is paramount, RAW is the preferred choice.
Canon 7D Software and Connectivity
Unlock your camera’s full potential! Utilize Canon’s EOS Utility and Digital Photo Professional for seamless image transfer, editing, and firmware updates.
Canon EOS Utility Software
Canon EOS Utility is a powerful, free software package designed to facilitate communication between your Canon EOS 7D and your computer. It serves as a central hub for various essential functions, streamlining your workflow from image downloading to remote camera control. This software allows for direct transfer of photos and videos, organizing them efficiently on your hard drive.
Beyond simple file transfer, EOS Utility enables remote live view operation, letting you control camera settings – aperture, shutter speed, ISO, and focus – directly from your computer screen. This is incredibly useful for studio photography or situations where physically accessing the camera is difficult. Furthermore, it supports image registration, allowing you to correct lens distortions and improve image quality.
The software also plays a crucial role in updating your camera’s firmware, ensuring optimal performance and compatibility with the latest features. Regularly checking for and installing firmware updates through EOS Utility is highly recommended. It’s a vital tool for maximizing the capabilities of your Canon EOS 7D and maintaining a smooth photographic experience.
Digital Photo Professional (DPP)
Digital Photo Professional (DPP) is Canon’s dedicated raw image processing software, offering extensive control over your EOS 7D’s photos. Unlike basic image viewers, DPP allows for non-destructive editing, meaning your original raw files remain untouched while adjustments are saved as instructions. This provides maximum flexibility for post-processing.
DPP excels in handling Canon’s raw format (.CR2), delivering superior color rendition and detail recovery compared to JPEG processing. You can fine-tune exposure, white balance, color saturation, and sharpness with precision. Advanced features include lens correction profiles, chromatic aberration reduction, and digital lens optimizer for sharper images.
The software’s intuitive interface allows for batch processing, streamlining workflows for large photo shoots. DPP also supports various export options, enabling you to convert your raw files into different formats like JPEG or TIFF, tailored to specific needs. Mastering DPP unlocks the full potential of your 7D’s image quality.
Driver and Firmware Updates
Keeping your Canon EOS 7D’s drivers and firmware up-to-date is crucial for optimal performance, compatibility, and access to the latest features. Canon regularly releases updates to address bugs, improve stability, and enhance functionality. These updates can significantly impact image quality, autofocus accuracy, and overall camera responsiveness.
Drivers are essential for communication between your camera and computer, enabling image transfer and software operation. Firmware, on the other hand, is the internal software that controls the camera’s functions. Updating the firmware often introduces new shooting modes, improved algorithms, and enhanced user experience.
You can find the latest drivers and firmware for your EOS 7D on Canon’s official website. The update process typically involves downloading the files to an SD card, inserting the card into the camera, and following the on-screen instructions. Regularly checking for updates ensures your 7D operates at its peak potential.
Troubleshooting Common Issues
Resolve typical 7D problems swiftly! Addressing focusing, image quality, or connectivity concerns ensures a smooth photographic experience and continued creative success.
Focusing Problems
Experiencing blurry images or difficulty achieving sharp focus with your Canon EOS 7D? Several factors can contribute to focusing issues. First, ensure you’ve selected the appropriate autofocus (AF) mode for your subject – One Shot for stationary objects and AI Servo for moving subjects. Verify your AF point selection aligns with the intended focal point.
If the camera struggles to lock focus, check the lens for cleanliness and ensure it’s securely attached. Insufficient light can also hinder autofocus performance; consider using an external flash or increasing ISO. Confirm that your subject is within the lens’s minimum focusing distance.
Furthermore, explore the custom functions within the 7D’s menu to fine-tune AF sensitivity and tracking responsiveness. If problems persist, consult the Canon manual for detailed troubleshooting steps or consider professional lens calibration. Remember to disable Image Stabilization when using a tripod.
Image Quality Issues
Are your Canon EOS 7D images not meeting expectations? Several factors impact image quality. Begin by verifying your shooting settings – are you shooting in RAW or JPEG? RAW offers greater flexibility for post-processing. Check your ISO setting; higher ISO values introduce more noise, especially in low light. Utilize the 7D’s noise reduction features, but be mindful of potential detail loss.
Ensure proper exposure by understanding the exposure triangle (aperture, shutter speed, ISO). Incorrect white balance can result in unnatural colors; utilize presets or custom white balance for accurate color rendition. Inspect your lens for any dust or smudges, as these can degrade image sharpness.
Finally, review your image histogram to assess exposure and dynamic range. If issues persist, consult the Canon manual for advanced settings and troubleshooting guidance. Consider calibrating your monitor for accurate color representation during editing.
Connectivity Problems
Experiencing difficulties connecting your Canon EOS 7D to your computer or other devices? First, ensure all cables are securely connected and undamaged. If using a USB connection, try a different USB port on your computer. Verify that you have installed the latest Canon EOS Utility software and drivers, downloadable from the Canon website.
For wireless connectivity, confirm your camera and device are on the same Wi-Fi network. Check the camera’s wireless settings and ensure it’s configured correctly. If using Bluetooth, pair the devices according to the instructions in the Canon manual.
Troubleshoot potential firewall or security software conflicts on your computer. Restarting both your camera and computer can often resolve temporary connectivity glitches. Refer to Canon’s online support resources or the digital manual for specific troubleshooting steps related to your operating system.