hampton bay ceiling fan user manual
Welcome to the Hampton Bay Ceiling Fan User Manual․ This guide provides essential information for installing, operating, and maintaining your ceiling fan to ensure optimal performance and safety․
1․1 Importance of Reading the Manual
Reading the Hampton Bay Ceiling Fan User Manual is crucial for ensuring safe installation, proper operation, and optimal performance․ It provides detailed instructions, safety precautions, and troubleshooting tips to avoid potential hazards․ Understanding the manual helps you familiarize yourself with the fan’s features, such as speed settings and light kit operation․ Additionally, it outlines warranty terms and maintenance requirements to extend the product’s lifespan․ By following the guidelines, you can prevent installation errors and ensure compliance with electrical standards․ This manual serves as a comprehensive guide to maximize your ceiling fan’s efficiency and longevity․

Pre-Installation Requirements
Before installing your Hampton Bay ceiling fan, ensure you have a stable power supply, proper structural support, and all necessary tools and materials․ Verify local electrical codes and manufacturer specifications to ensure safe and correct installation․
2․1 Safety Precautions
Always turn off the power supply at the electrical panel before starting installation․ Use an isolating wall switch to control the fan․ Avoid overloading circuits, and ensure the fan is installed by a licensed electrician if required․ Never operate the fan near water or in humid conditions without proper ratings․ Keep children away during installation․ Follow all local electrical codes and manufacturer instructions to prevent accidents․ Ensure the fan is securely mounted to avoid wobbling or falling․ Do not exceed the recommended weight limit for the fan․ Proper installation is crucial to ensure safe and efficient operation․
2․2 Tools and Materials Needed
To install your Hampton Bay ceiling fan, gather the following tools and materials: a voltage tester, screwdrivers (Phillips and flathead), pliers, a ladder, and wire strippers․ Ensure you have all hardware provided, such as screws, washers, and mounting brackets․ For installations without a ceiling joist, an additional hanger bar may be required․ Refer to the owner’s manual for specific components included with your fan model․ Proper tools and materials ensure a safe and efficient installation process, avoiding potential hazards or damage to the fan or electrical system․ Always double-check the manual for any additional requirements specific to your fan․

Installation Instructions
Follow the step-by-step guide to safely install your Hampton Bay ceiling fan․ Turn off power, assemble parts, mount the fan, and connect wiring․ Ensure secure installation for optimal performance and safety․
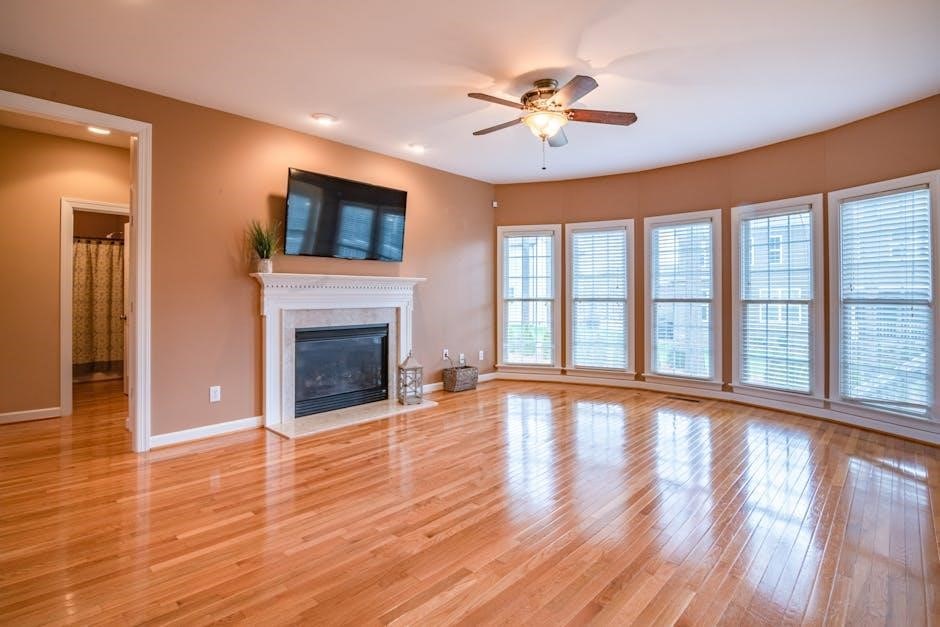
3․1 Mounting the Fan
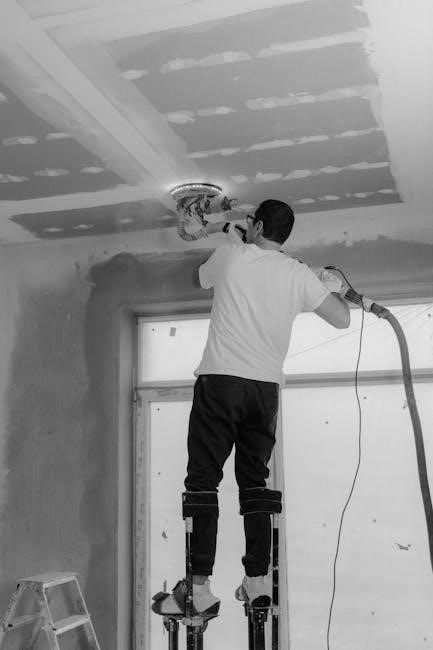
Before mounting, ensure the area is clear and power is turned off․ Assemble the fan components as per the manual․ Use the provided hook to hang the motor housing temporarily․ Align the mounting bracket with the ceiling outlet and secure it firmly․ Tighten all screws to prevent wobbling․ For ceilings without a joist, install an approved hanger bar․ Ensure the fan is level and properly seated․ Double-check all connections for stability․ Follow the manufacturer’s guidelines to avoid installation errors and ensure safe operation․ Proper mounting is essential for the fan’s performance and longevity․
3․2 Connecting the Wiring
Turn off the power supply at the circuit breaker before starting․ Identify the wires: black (fan), white (neutral), and copper (ground)․ Connect the black wire to the fan’s motor wires and the white wire to the neutral terminal․ Secure the ground wire to the grounding screw․ Ensure all connections are tight and insulated․ If using a light kit, connect the corresponding wires as instructed․ Double-check all connections for accuracy․ Replace the wire cover and test the fan by restoring power․ Always follow safety guidelines to avoid electrical hazards․ Proper wiring ensures safe and efficient fan operation․ Consult a licensed electrician if unsure․
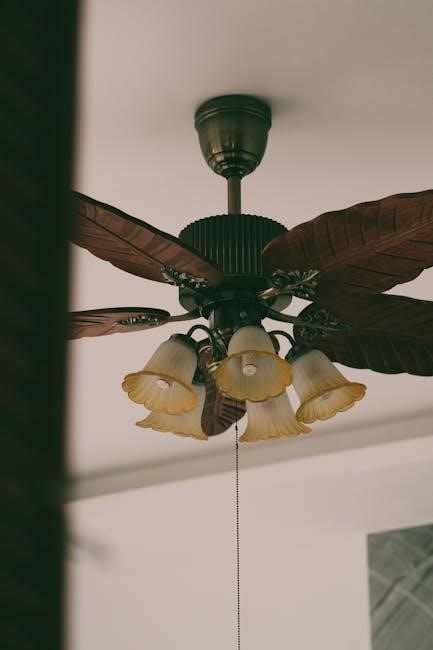
3․3 Installing the Light Kit
Before installing the light kit, ensure the fan is turned off and the power supply is disconnected․ Remove the glass shade or grille from the fan․ Attach the light kit to the fan’s housing using the provided screws․ Connect the light kit’s wires to the fan’s wiring harness, ensuring black wires connect to motor wires and white wires to neutral terminals․ Secure the ground wire to the grounding screw․ Replace the glass shade or grille and install the light bulbs as specified․ Tighten all screws firmly to ensure stability․ Turn the power back on and test the light kit to ensure proper operation․ Always follow the manufacturer’s guidelines for safe installation․
Operating the Ceiling Fan
This section explains how to operate your Hampton Bay ceiling fan using the pull chain or remote control․ Adjust speed settings and light functions for optimal comfort․
4․1 Understanding the Remote Control
The remote control allows you to conveniently adjust fan speed and direction․ Press the numbered buttons (1, 2, 3, 4) to cycle through high, medium, low, and off settings․ Use the “REV” button to switch between forward (cooling) and reverse (circulating warm air) modes․ Ensure the remote is paired correctly with your fan for proper operation․ Refer to the pairing instructions in the manual if needed․ Regularly check battery levels for consistent performance․ For troubleshooting, consult the user manual or contact Hampton Bay customer support at 1-855-434-2678․ Always follow safety guidelines to avoid accidents during operation․
4․2 Adjusting Fan Speed and Direction
Adjusting the fan speed and direction is straightforward using the remote control or pull chain․ The remote offers four speed settings: high, medium, low, and off; The “REV” button toggles between forward (cooling) and reverse (circulating warm air) modes․ For energy efficiency, use forward in summer and reverse in winter․ The pull chain controls speed settings: one pull for high, two for medium, three for low, and four pulls to turn off․ Ensure the remote is paired correctly for proper operation․ Always follow safety guidelines and refer to the manual for troubleshooting․ Contact Hampton Bay support for further assistance․

Maintenance and Troubleshooting
Regularly clean fan blades with a soft cloth to maintain efficiency․ For issues, check power supply and circuit breakers․ Refer to the manual for troubleshooting common problems like wobbling or noise․ Contact Hampton Bay support for further assistance․
5․1 Cleaning the Fan Blades
To maintain your Hampton Bay ceiling fan’s efficiency and appearance, clean the blades regularly․ Turn off the power and allow the fan to stop completely․ Use a soft, dry cloth to wipe down each blade, removing dust and debris․ For stubborn stains, dampen the cloth with water, but avoid harsh chemicals or abrasive materials that could damage the finish․ Regular cleaning prevents dust buildup, ensuring smoother operation and better airflow․ For fans with light kits, gently clean glass covers with a mild glass cleaner․ Always dry the blades thoroughly after cleaning to prevent water spots․
5․2 Common Issues and Solutions
Addressing common issues with your Hampton Bay ceiling fan ensures optimal performance․ If the fan wobbles, check blade alignment and tighten screws․ For lights not turning on, ensure bulbs are securely installed and compatible with the fixture․ Remote control issues may require resetting or replacing batteries․ If the fan hums or vibrates excessively, inspect for loose mounting hardware or imbalanced blades․ For persistent problems, refer to the troubleshooting section or contact Hampton Bay customer support at 1-855-HD-HAMPTON for assistance․ Regular maintenance and proper installation can prevent many of these issues, ensuring smooth and quiet operation․

Warranty Information
Hampton Bay offers a Lifetime Limited Warranty on the ceiling fan motor, covering defects in workmanship and materials for the original purchaser․ See section 6․1 for details․
6․1 Lifetime Limited Warranty Details
Hampton Bay warrants the ceiling fan motor to be free from defects in workmanship and materials for the lifetime of the product․ This warranty applies to the original purchaser and covers manufacturing defects present at the time of shipment․ The motor is guaranteed to operate effectively under normal conditions without failure․ Other components, such as blades and light kits, are covered for a period of five years from the date of purchase․ Damage caused by misuse, improper installation, or accidents is not covered․ For full details, consult the warranty section in this manual or contact Hampton Bay customer support․

Additional Resources
Visit www․homedepot․com for manuals, instructional videos, and replacement parts․ Contact Hampton Bay Customer Support at 1-855-434-2678 for assistance with your ceiling fan․
7․1 Customer Support Contact Information
For questions or issues with your Hampton Bay ceiling fan, contact Customer Support at 1-855-434-2678 (available 8 a․m․ ⎯ 6 p․m․, EST, Monday-Friday)․ Visit www․homedepot․com for manuals, instructional videos, and replacement parts․ Email support is also available through their website․ Representatives can assist with troubleshooting, warranty claims, and installation guidance․ Additional resources, including product manuals and FAQs, can be found online․ Ensure to have your product model number ready for faster assistance․ Hampton Bay is committed to providing reliable support to enhance your product experience․