maytag dryer troubleshooting manual pdf
Maytag dryer troubleshooting is essential for addressing common issues like no heat, noise, or long drying times. Referencing the manual ensures efficient diagnosis and repair, extending appliance lifespan.
1.1 Overview of Maytag Dryer Models and Their Common Issues
Maytag offers a variety of dryer models, including the Bravos Series, MEDB200VQ, and MGDB4500MW, each with unique features but prone to specific issues. Common problems include no heat, excessive noise, and slow drying times. Electric models often face heating element failures, while gas dryers may struggle with ignition issues. Proper maintenance, like cleaning lint filters and vents, can prevent many of these problems. Understanding your model’s quirks is key to effective troubleshooting and ensuring optimal performance.
1.2 Importance of Referencing the Maytag Dryer Manual for Troubleshooting
Referencing the Maytag dryer manual is crucial for effective troubleshooting. It provides model-specific guidance, diagnostic steps, and repair tips, ensuring safety and efficiency. Manuals include error code explanations, maintenance schedules, and part replacement instructions, helping users identify issues accurately. By following the manual, homeowners can address problems confidently, avoid costly repairs, and extend their dryer’s lifespan. Regular manual consultation also helps prevent minor issues from becoming major breakdowns, ensuring reliable performance and optimal drying results for years to come.
Finding and Downloading the Maytag Dryer Manual PDF
Access Maytag dryer manuals online by visiting official websites or platforms like manua.ls. Enter your dryer model number to download the PDF, ensuring compatibility and accuracy.
2.1 Steps to Access the Maytag Dryer Manual Online
To access the Maytag dryer manual online, visit the official Maytag website or trusted platforms like manua.ls. Search for your specific dryer model number, such as MEDB200VQ, to find the corresponding manual. Download the PDF version, which covers troubleshooting, maintenance, and repair guides. This resource ensures you can diagnose and fix common issues efficiently, keeping your dryer in optimal condition. Regularly referencing the manual helps prevent breakdowns and extends the appliance’s lifespan.
2.2 Compatible Models Covered in the Maytag Dryer Troubleshooting Manual
The Maytag dryer troubleshooting manual covers a wide range of models, including Bravos Series MEDB200VQ and MGDB400VQ. It also supports steam and gas models like MGDB800VU and MEDB850WL. Each manual is tailored to specific features, ensuring accurate guidance for repairs and maintenance. Whether you own an electric or gas dryer, the comprehensive coverage helps you address issues effectively, making it an indispensable resource for all Maytag dryer models.
Common Maytag Dryer Issues and Solutions
Address issues like no heat, noise, or long drying times by checking heating elements, lint filters, and venting. Ensure proper electrical connections and clean filters for optimal performance.
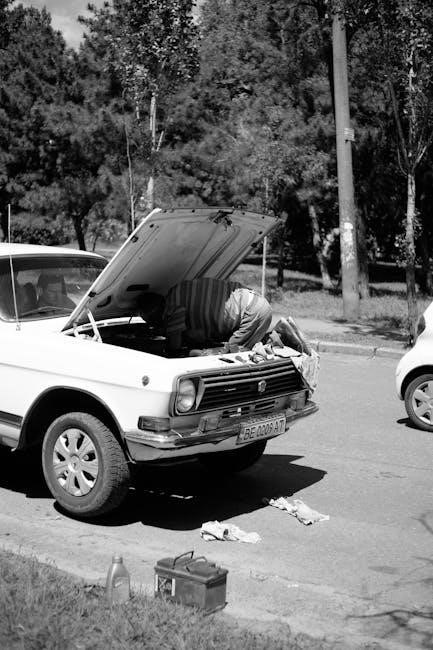
3.1 Dryer Not Heating: Possible Causes and Fixes
If your Maytag dryer isn’t heating, check the gas supply or electrical connections. Ensure the circuit breaker isn’t tripped and the heating element or thermal fuse isn’t faulty. A clogged vent or lint filter can restrict airflow, preventing heat circulation. Clean the venting system and filter, and ensure the dryer is properly installed. If issues persist, consult the manual or contact a professional to replace damaged parts and restore heating functionality effectively.

3.2 Dryer Making Noise: Diagnosis and Repair Tips
A noisy Maytag dryer could indicate issues like loose parts or worn components. Check for objects in the drum and inspect drum rollers, belts, or bearings for wear. Ensure all internal and external connections are secure. Refer to the manual for specific diagnostic steps. If components are damaged, replace them promptly to avoid further damage. Regular maintenance, such as cleaning the drum and lubricating moving parts, can also help reduce noise and ensure smooth operation.
3.3 Dryer Not Starting: Troubleshooting Electrical and Mechanical Issues
If your Maytag dryer won’t start, check electrical connections first. Ensure the dryer is plugged in and the outlet works. Verify circuit breakers or fuses aren’t tripped. Inspect the power cord for damage. Next, examine the door switch and thermal fuse for proper function. Consult the manual for diagnostic modes or error codes. If issues persist, internal components like the start switch or control board may need professional attention. Always unplug the dryer before performing repairs for safety.
3.4 Clothes Taking Too Long to Dry: Venting and Maintenance Checks
Clothes taking too long to dry often indicate venting issues. Ensure the lint filter is clean and check for blockages in the venting system, as restricted airflow prolongs drying times. Verify that the dryer is properly installed and vented outdoors to maintain efficiency. Additionally, check for kinked or damaged vent hoses and ensure the dryer is not overloaded. Regular cleaning of the moisture sensor and venting system can improve performance and reduce energy consumption, preventing long drying cycles and potential fire hazards.
Preventative Maintenance for Maytag Dryers
Preventative maintenance for Maytag dryers includes cleaning the lint filter, checking venting systems, and scheduling regular checks to prevent breakdowns and ensure optimal performance.
4.1 Cleaning the Dryer Interior and Lint Filter
Cleaning the dryer interior and lint filter is crucial for maintaining efficiency and safety. Unplug the dryer and remove lint from the filter after each use. Use a soft cloth or sponge with mild detergent to wipe the interior, ensuring no residue remains. Regular cleaning prevents fire hazards, improves airflow, and optimizes drying performance. Always dry the interior thoroughly before reuse to avoid moisture buildup.
4.2 Checking and Cleaning the Venting System
Regularly inspect and clean the dryer’s venting system to ensure proper airflow and efficiency. Clogged vents can cause long drying times, increased energy bills, and potential fire hazards. Use a vacuum or specialized brush to remove lint and debris from the ducts. Ensure all connections are secure and replace damaged sections. Annual professional cleaning is recommended for optimal performance and safety. A clean venting system enhances drying efficiency and reduces the risk of mechanical issues.
4.3 Scheduling Regular Maintenance to Avoid Breakdowns
Regular maintenance is crucial for preventing Maytag dryer breakdowns and ensuring optimal performance. Schedule annual professional inspections to check for worn parts, blockages, and electrical issues. Clean the venting system and lint filter monthly to maintain proper airflow. Refer to the manual for specific maintenance tasks tailored to your model. Consistent upkeep reduces the risk of unexpected repairs, extends the dryer’s lifespan, and ensures energy efficiency and safety. A well-maintained dryer operates more reliably and effectively, saving time and resources over time.

Advanced Troubleshooting Techniques
Advanced troubleshooting involves identifying faulty parts, checking error codes, and verifying gas and electrical connections. Refer to the manual for detailed diagnostic procedures and repair guidance.
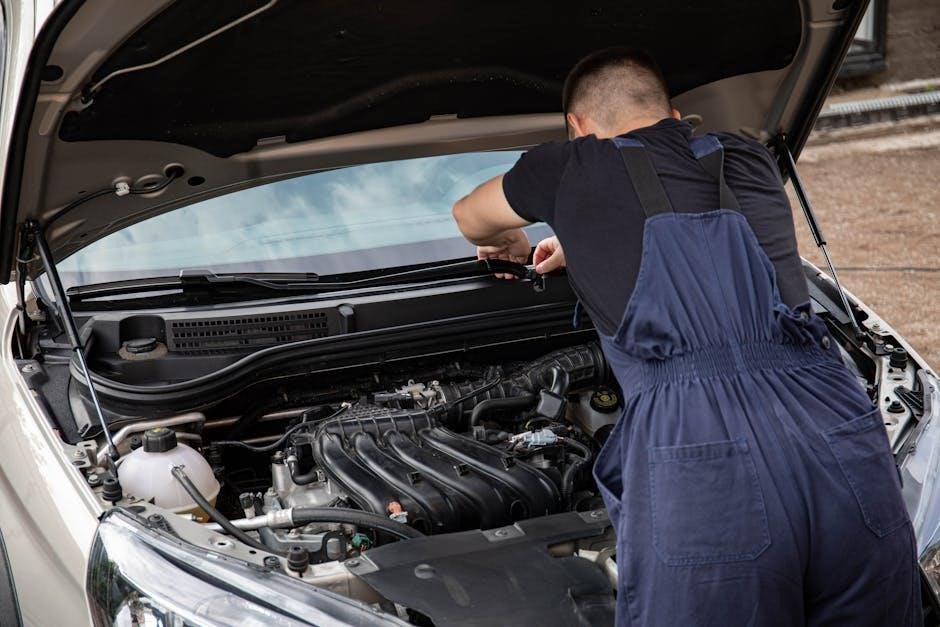
5.1 Identifying and Replacing Faulty Parts
Identifying faulty parts in a Maytag dryer often involves checking components like heating elements, thermal fuses, or igniters. Start by unplugging the dryer for safety. Use the manual to locate and test these parts. For example, a multimeter can check continuity in heating elements or fuses. If a part fails testing, replace it with an authentic Maytag component. Clean or replace filters and vents as needed. Always refer to the manual for specific part numbers and replacement procedures to ensure proper repair and safety.
5.2 Understanding Error Codes and Diagnostic Modes
Maytag dryers often display error codes like “E3” or “DC” to indicate specific issues. These codes, found in the manual, help identify problems such as faulty sensors or gas supply issues. Diagnostic modes allow users to test components like heating elements or igniters. By entering diagnostic mode, you can isolate faults quickly. Always refer to the manual for code meanings and troubleshooting steps. This approach ensures accurate repairs and prevents further damage, helping you resolve issues efficiently and safely.
5.3 Checking the Gas Supply and Electrical Connections
Ensure the gas supply valve is fully open for gas dryers. Check circuit breakers and fuses to confirm electrical power is stable. Verify all connections are secure, including the plug and outlet. For gas models, inspect hoses for leaks and ensure proper installation. Refer to the manual for specific guidelines. Correcting these issues can resolve common problems like no heat or startup failures, ensuring safe and efficient operation of your Maytag dryer.
Safety Tips for DIY Maytag Dryer Repairs
Always disconnect power before repairs. Ensure proper ventilation and avoid tampering with controls. Follow manual guidelines to prevent fire hazards and ensure safe DIY troubleshooting.
6.1 Essential Safety Precautions Before Starting Repairs
Always disconnect the power supply before performing any repairs to avoid electrical shocks or injuries. Ensure the dryer is installed at least 18 inches above the floor in garages to prevent fire risks. Keep the area clear of flammable materials and avoid exposing the dryer to water. Never tamper with controls or bypass safety features. Regularly clean the dryer interior and venting system to prevent lint buildup and fire hazards. Refer to the manual for specific Safety Precautions and follow all guidelines carefully.
6.2 Avoiding Common Mistakes During DIY Troubleshooting
Avoid common mistakes like forcing parts apart or bypassing safety features, which can cause further damage. Never pry doors open with tools, as this may damage seals or hinges. Always consult the manual for specific instructions and ensure all repairs align with manufacturer guidelines. Ignoring error codes or skipping diagnostic steps can lead to incorrect fixes. Properly disconnect power and gas supplies before starting repairs to ensure safety. Regularly cleaning lint filters and vents is crucial to prevent overlooked issues.
Proper maintenance and troubleshooting, as outlined in the Maytag manual, ensure optimal performance, prevent breakdowns, and extend the dryer’s lifespan, guaranteeing reliable operation and efficient drying.
7.1 Final Tips for Effective Maytag Dryer Maintenance
Regularly clean the lint filter and venting system to ensure proper airflow and efficiency. Schedule annual professional inspections to identify potential issues early. Always refer to the manual for specific guidance tailored to your model. Keep the dryer interior clean and check for blockages in the drum or vents. Proper installation and leveling of the dryer are crucial for smooth operation. By following these steps, you can extend the lifespan of your Maytag dryer and maintain optimal performance.